
Many photographers are intimidated by product photography because they assume the setup is too complicated. They imagine a long process that often includes a lot of time editing and acquiring photographic skills and knowledge. Thankfully, there are some easy tips to help make your product photography look professional without too much effort!
Use a tripod – This one is easy! Tripods are perfect for holding your camera still to allow your shutter speed to be as short or long as you like. You want your image to look as crisp as possible and avoid blurry images.
Use controlled lighting – Lighting doesn’t have to be expensive, it just needs to be controllable. That way you can adjust your camera for the perfect exposure and replicate it easily! Play around with positioning of different lights. Your product will look different depending on where the main source of light is coming from.
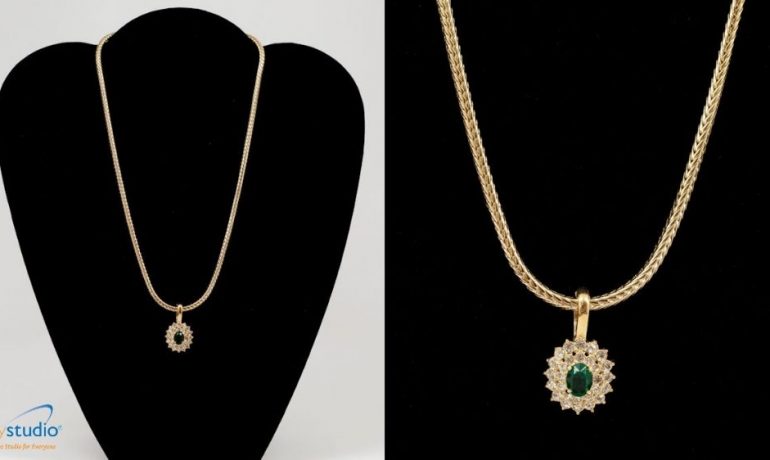
Use a portable light box photo studio – A table top photo studio is very affordable and provides an easy setup to make your product photography look professional. They are also invaluable if you are doing jewelry photography which requires a lot of detail. A product photo studio kit will typically have a seamless white background and, depending on which kit you buy, there will also be continuous lighting and some kind of phtography lightbox included which will help you get great lighting on your products. The two most important things to make your pictures stand out are lighting and focus. Try to bring as much detail as possible and take lots of pictures from different angles! Remember, if your product is only featured online, then clients rely on your product photography because they can’t physically hold or look at the product. Get a great product photography or jewelry photography light box kit, keep practicing and find what works best for you!